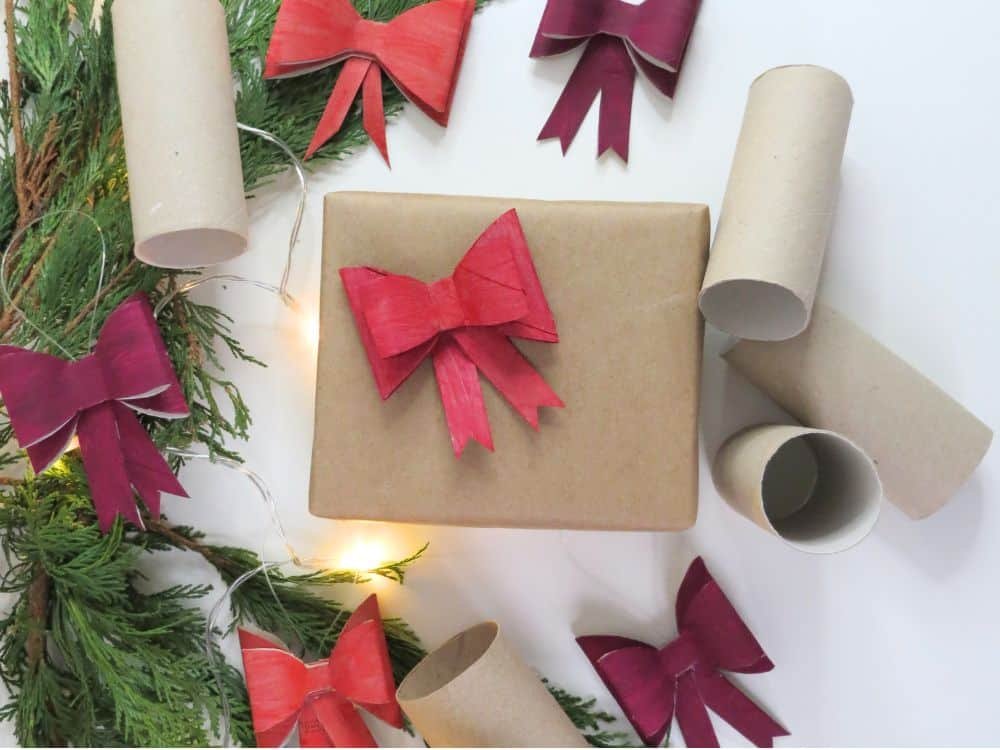

Break away from traditional ribbon styles and ignite your creativity with DIY Christmas bow that will steal the spotlight. This blog post explores an unconventional material to inspire you to craft unique and eye-catching bows for your holiday presents.
We all know that the perfect bow can take a gift from ordinary to extraordinary, and that’s why we’re here to guide you through the process. From choosing the perfect materials to crafting bows out of unexpected materials like toilet paper rolls, we’ve got you covered. But it doesn’t stop there – we’ll also show you how to add your own personal touch and customize your DIY Christmas bows.
[ This post probably contains affiliate links, our full disclosure policy is boring, but you can read it HERE ]
Choosing the Perfect Materials for Your Bow
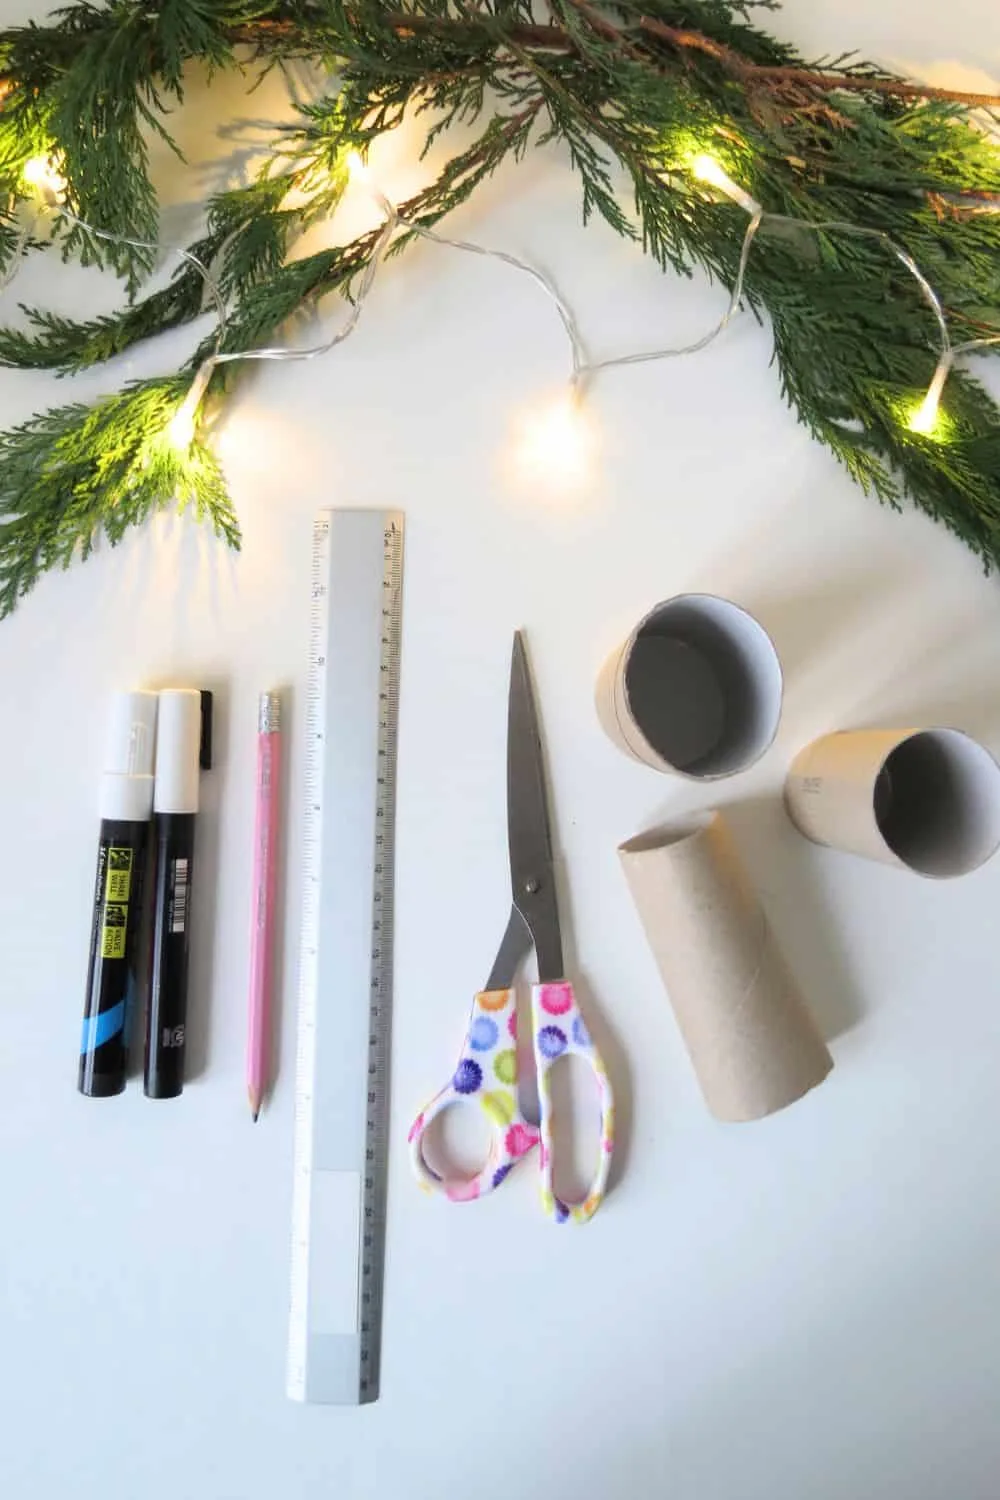
You will need some basic supplies to make recycled bows. Don’t hesitate to add some decorative elements to personalize them, you will find some ideas below.
If you like to use the DIY Christmas bow as ornament you will also need fishing wire or twine.
To personalize the bows and give them a little sparkle, don’t hesitate to add a few decorative elements like:
RELATED: From Trash to Treasure: How to Transform Toilet Paper Rolls into Delicate Snowflake Ornaments
RELATED: How to make a Christmas gingerbread village with cardboard
Step-by-Step Guide: How to Make a DIY Christmas Bow Out of Toilet Paper Roll
Now that you have gathered your supplies, let’s dive into a step-by-step guide on how to make a Christmas bow out of TPR, allowing you to unleash your creativity and create stunning bows using this simple material.
Step 1:
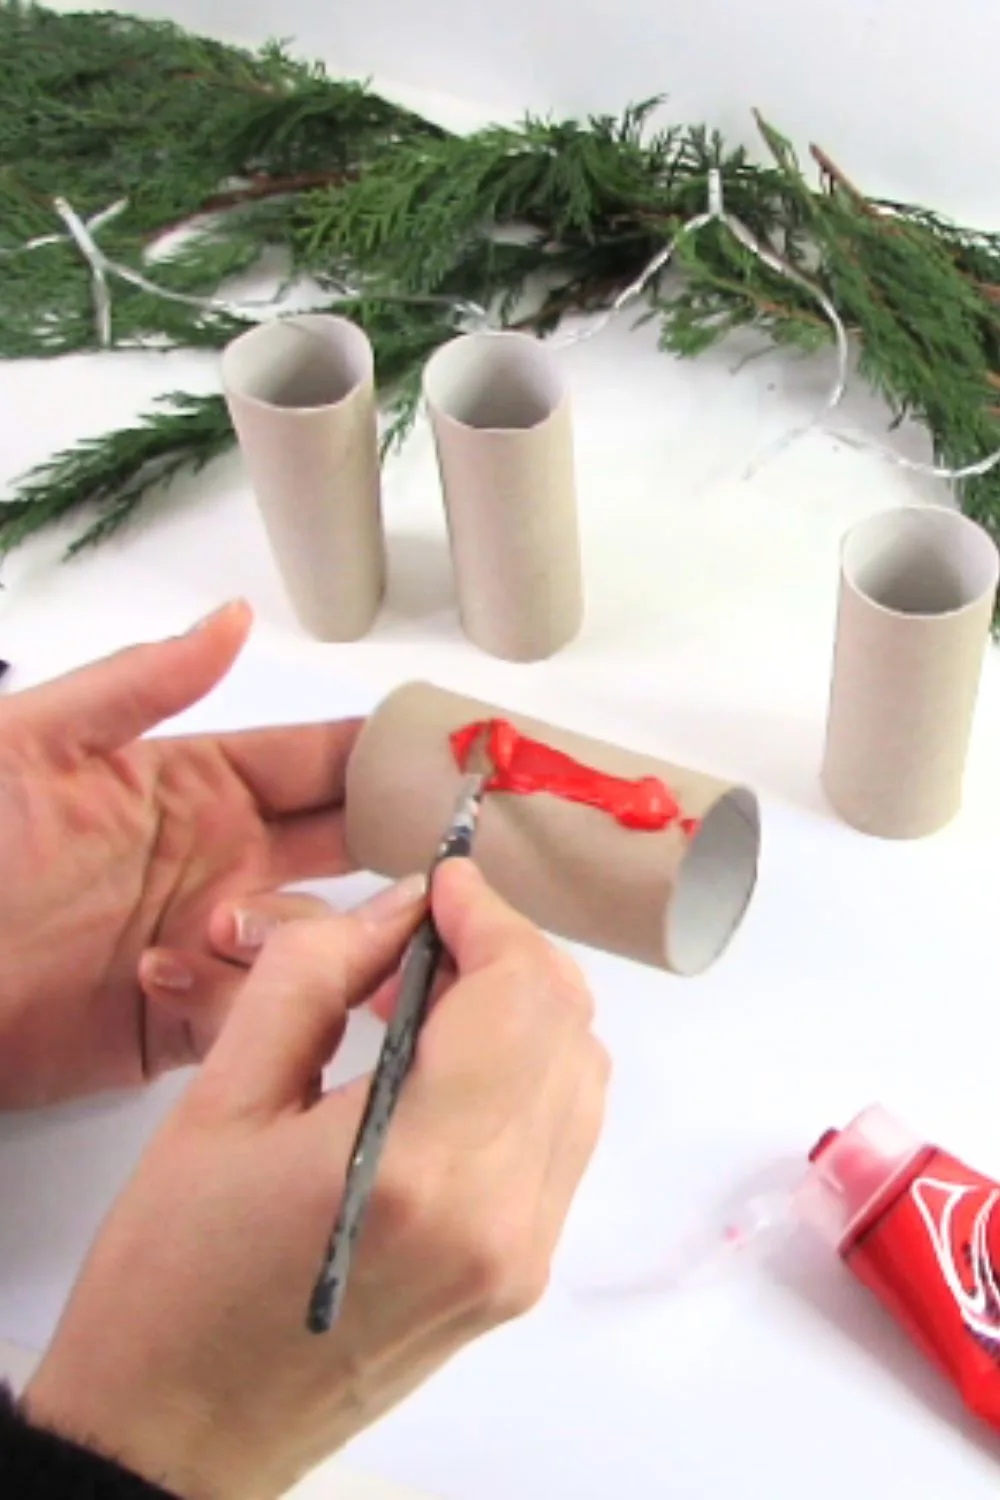
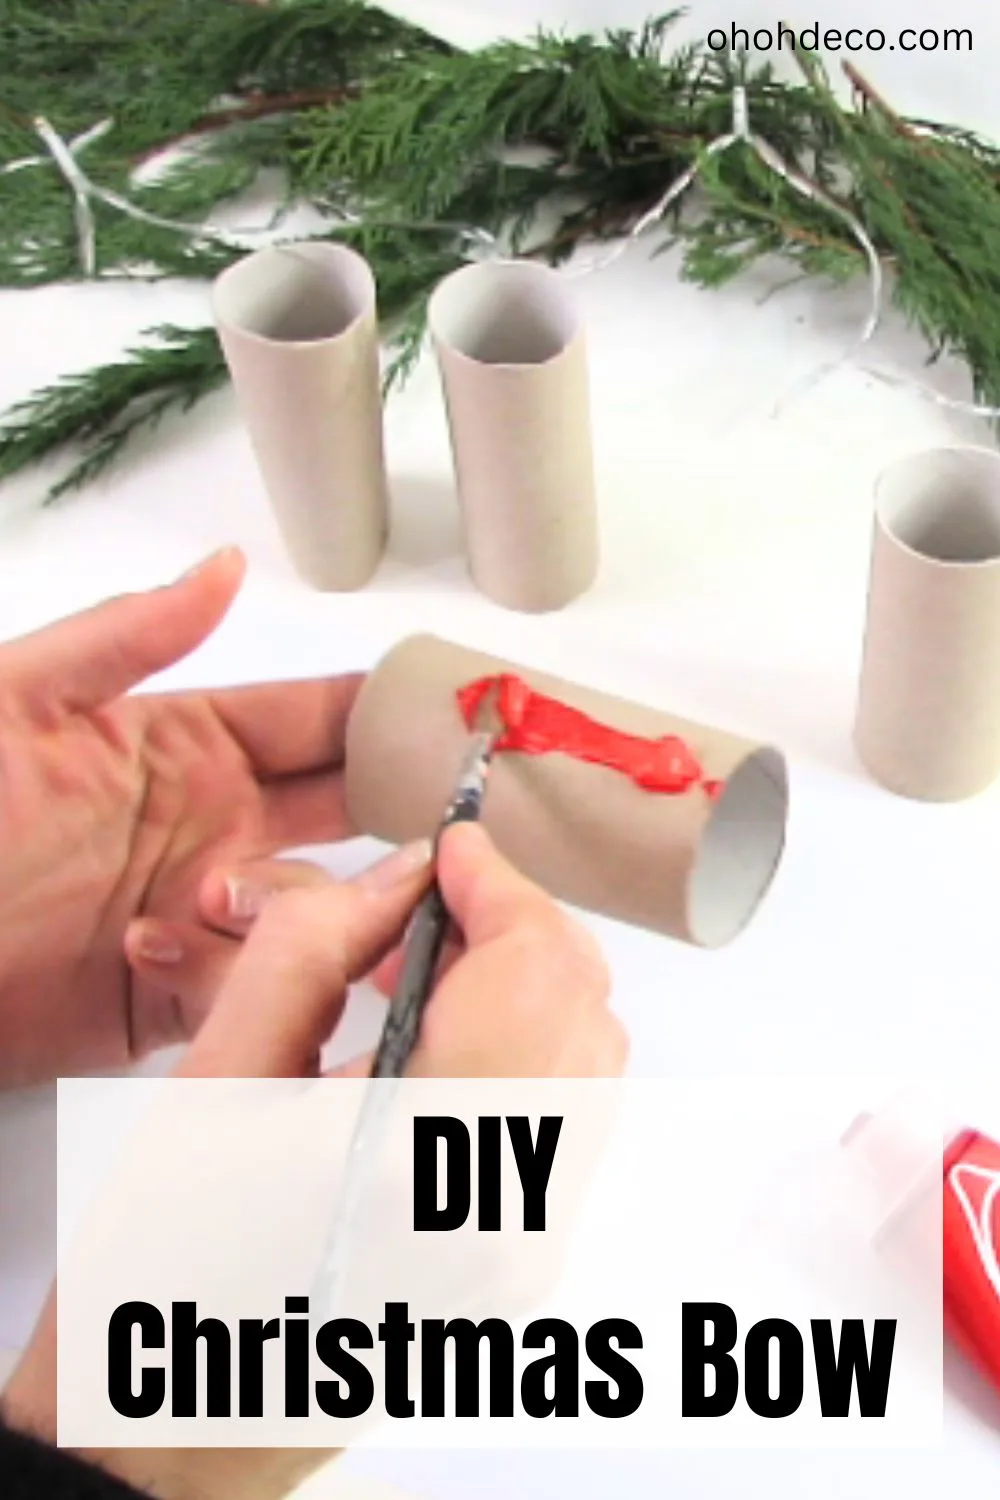
Paint the cardboard roll the color you like with acrylic paint. Let it dry.
Step 2:
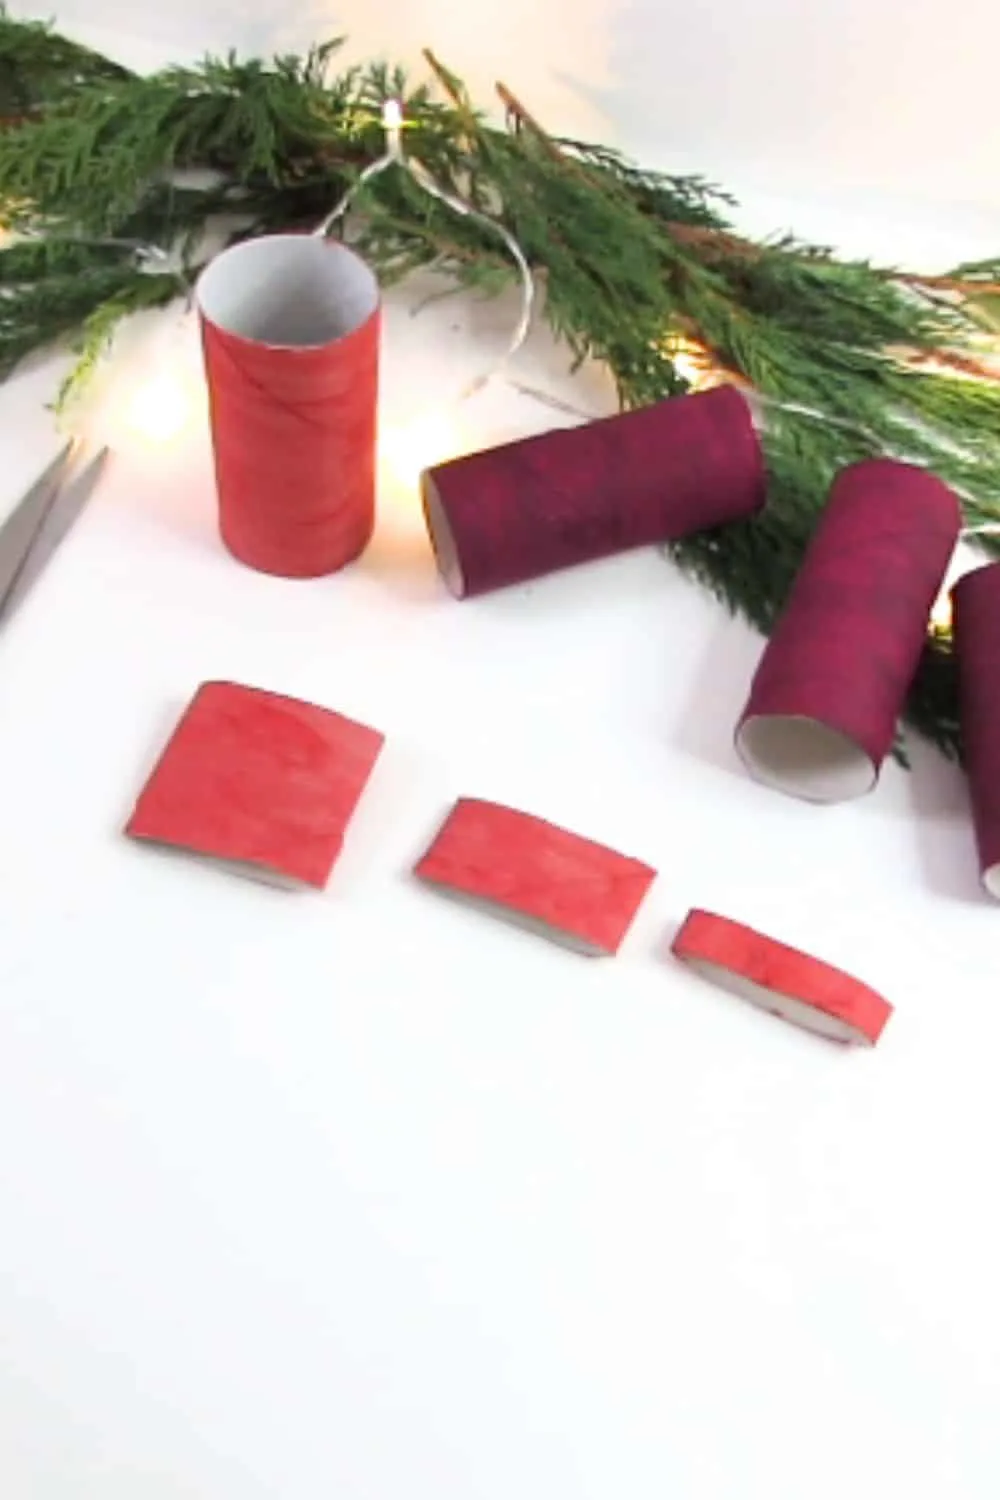
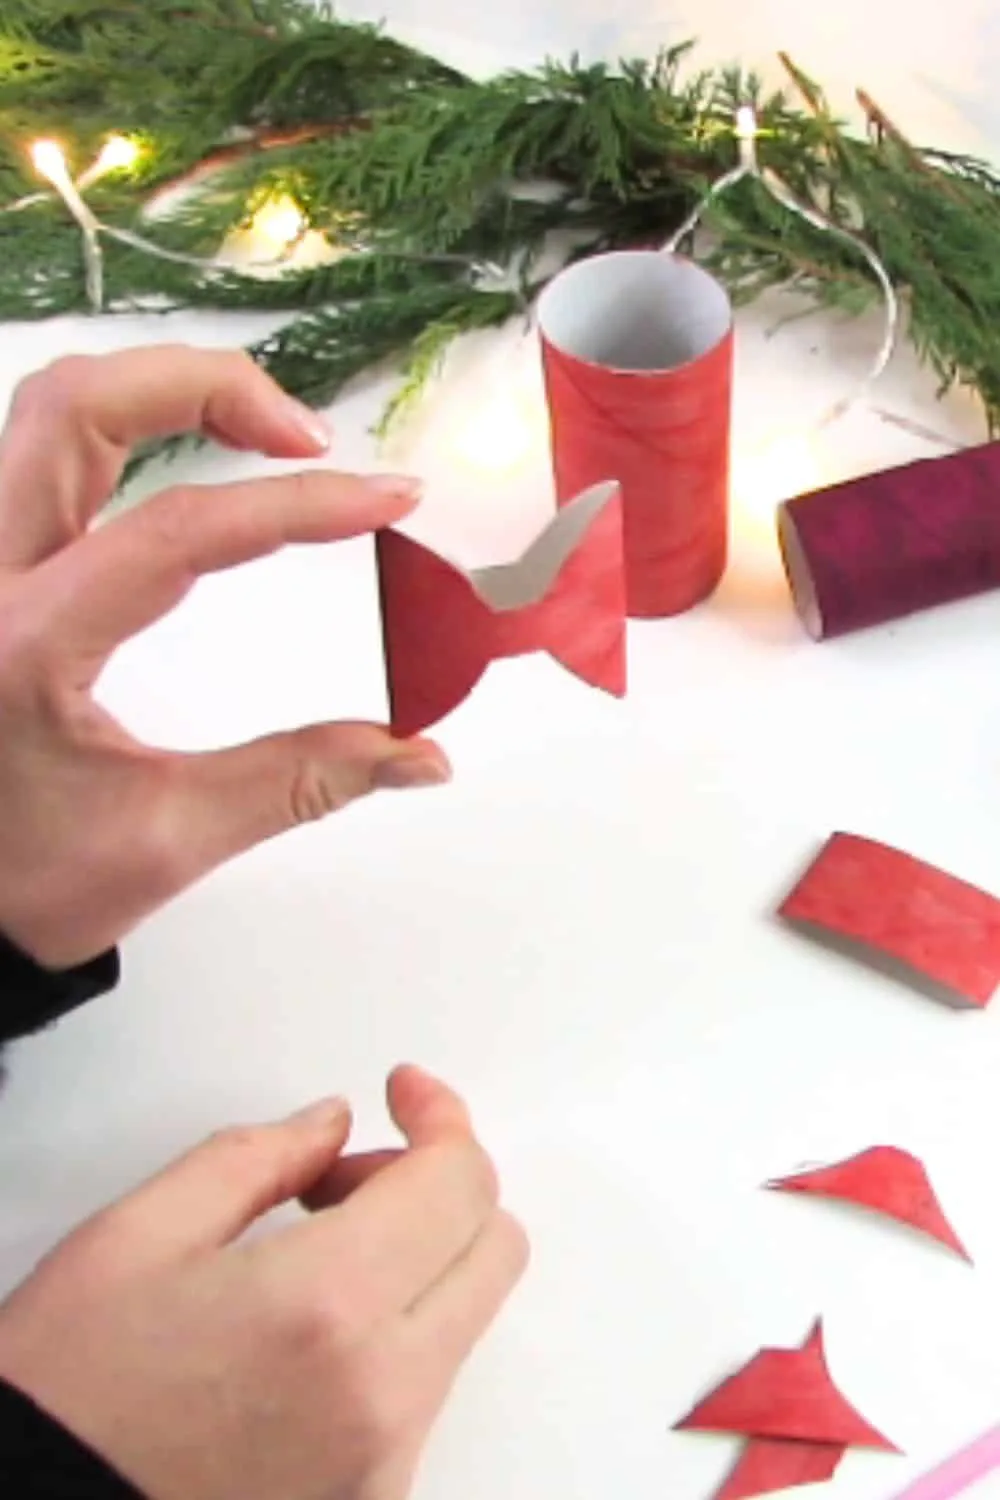
Cut the roll in three pieces of 2 inches, 1 1/4 inch and 1/2 inch. (5 cm, 3 cm and 1,5 cm)
Step 3:
Take the larger piece and draw a square of 1/3 in. (1cm) in the center. Starting from the square you just draw, trace the bow shape and cut it out.
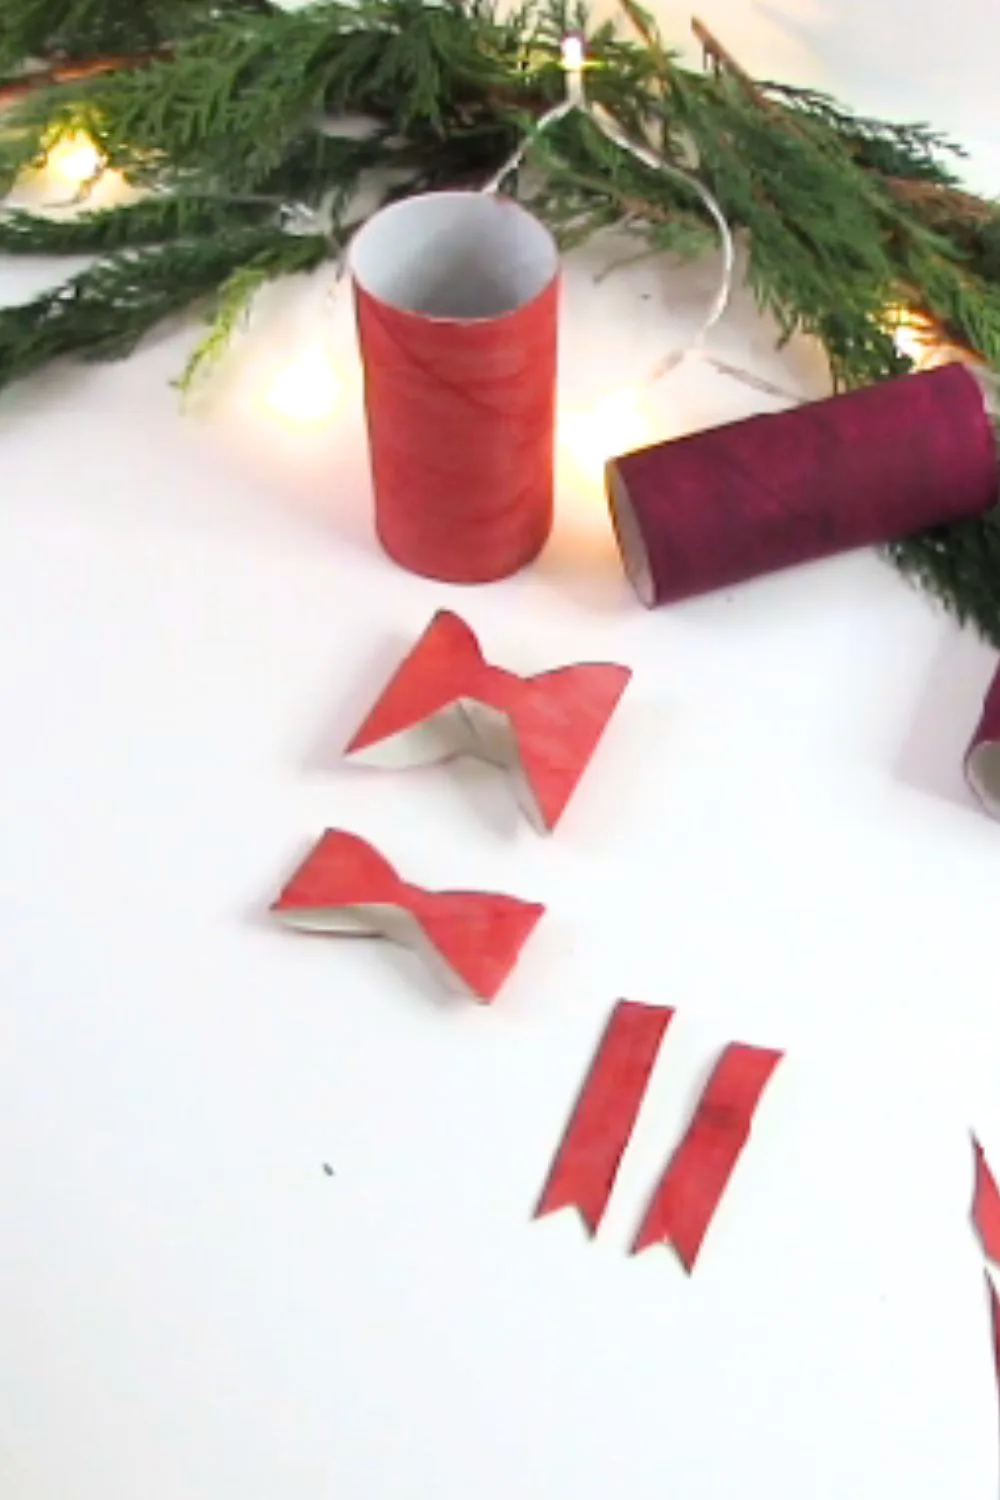
Repeat the same process with the medium piece of cardboard to create a second bow.
Step 4:
Take the last and smallest piece of cardboard. Cut it in half and trim a “V” shape on the ends.
Step 5:
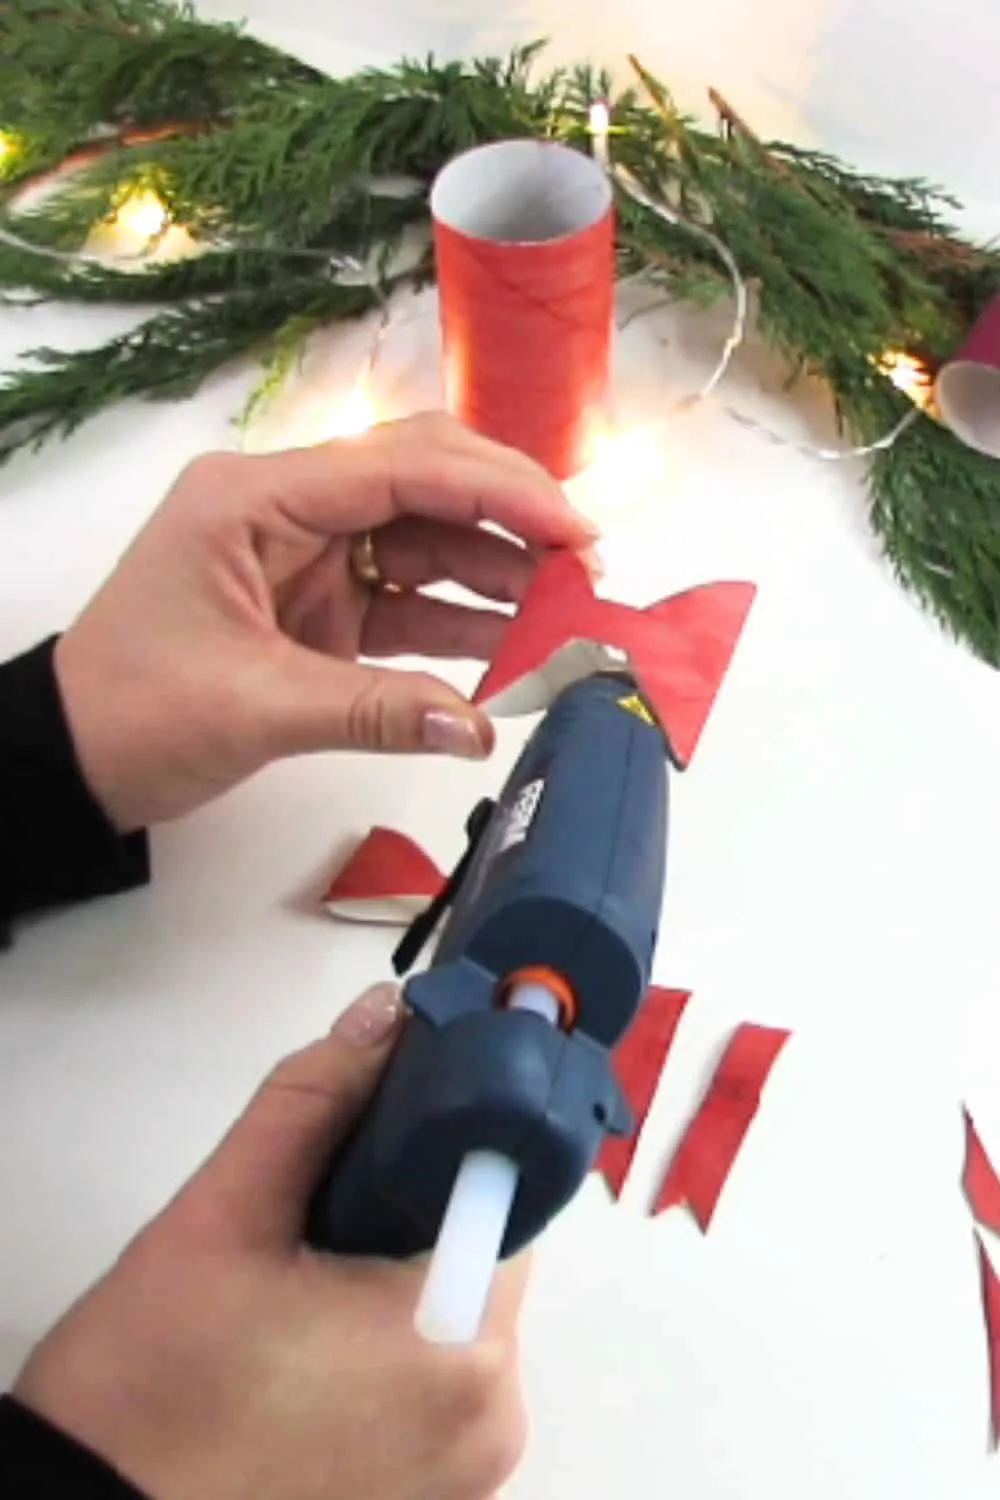
Assemble the bow. Glue first the center of each bow. Them glue them on each other, the smallest on top.
Glue the straight pieces on the back.
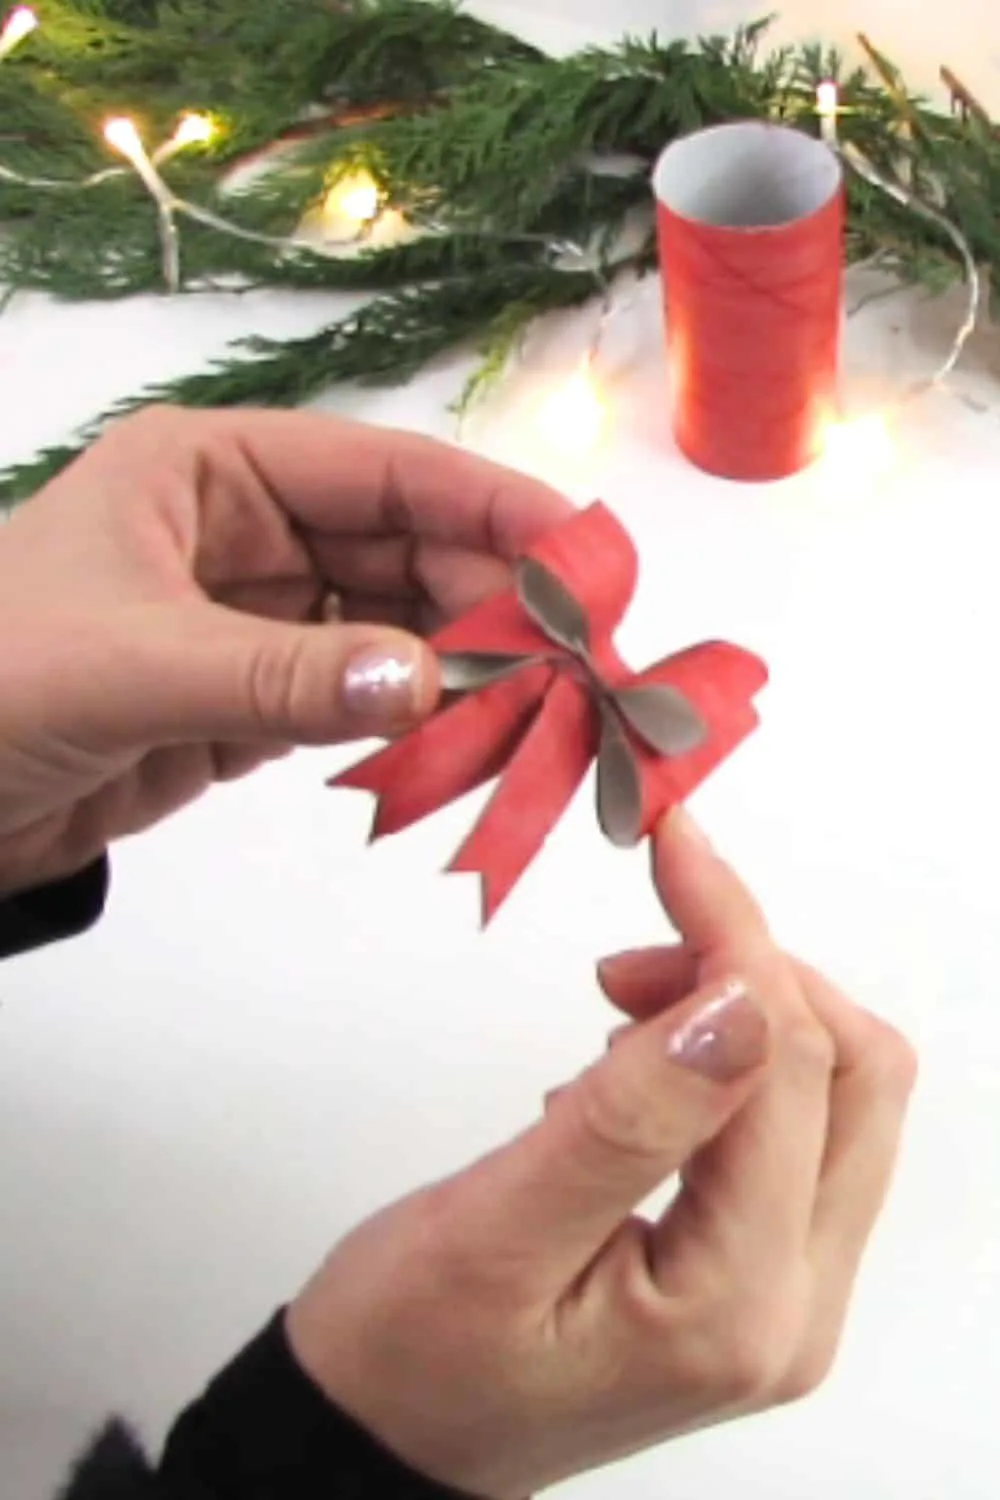
Open a little the fold to give your DIY Christmas bow a nice shape.
Voila! You have now successfully created a beautiful Christmas bow out of toilet paper roll. Use this guide as a starting point and feel free to experiment with different colors, and patterns to customize your bows even further.
You can also watch the DIY Christmas Bow tutorial on Youtube.
Adding Personal Touch: Customizing Your Bow
Adding Personal Touch: Customizing Your DIY Christmas Bow allows you to explore additional ways to infuse your own personality into your creations, ensuring that every bow you make is truly one-of-a-kind. While the basic toilet paper roll bow is a beautiful starting point, there are countless ways to take it a step further and make it uniquely yours.
One option for customization is to experiment with different paint color to match your personal style and the theme of your Christmas decor. Instead of traditional red and green, you might choose to create bows in shades of blue and silver for a winter wonderland theme, or go for bold and vibrant colors to make a statement. Let your imagination guide you as you select colors that reflect your own taste and creativity.
To add an extra touch of personalization, consider incorporating other materials into your Christmas bows. You could add beads, glitter or even small stickers to create unique embellishments. This allows you to further tailor your bows to match your overall Christmas theme or to create a cohesive look throughout your decorations.
Remember, the key to customization is experimentation. Don’t be afraid to try different techniques or combine various materials to achieve the desired effect. Trust your creativity and have fun along the way.
With your customized bows in hand, it’s time to move on to the next exciting step. Let’s explore creative ways to use these beautiful bows to add a festive touch to your holiday decor, gifts, and more.
RELATED: Unbelievable Way to Create a Stunning DIY Christmas Village Using Toilet Paper Rolls
RELATED: Toilet paper roll Christmas crafts: 33 Unexpected Ideas
Showcasing Your Creativity: Creative Ways to Use DIY Christmas Bows
One creative way to use DIY Christmas bows is by incorporating them into your holiday table settings. Place a bow on each plate as a decorative touch or use them to adorn napkin rings for an extra festive flair. You can also tie bows around the stems of wine glasses or incorporate them into a centerpiece arrangement to add a pop of color and texture.
Another fun idea is to use the bows to dress up your gift wrapping. Tape a bow to the top of a wrapped present for a unique and personalized touch.
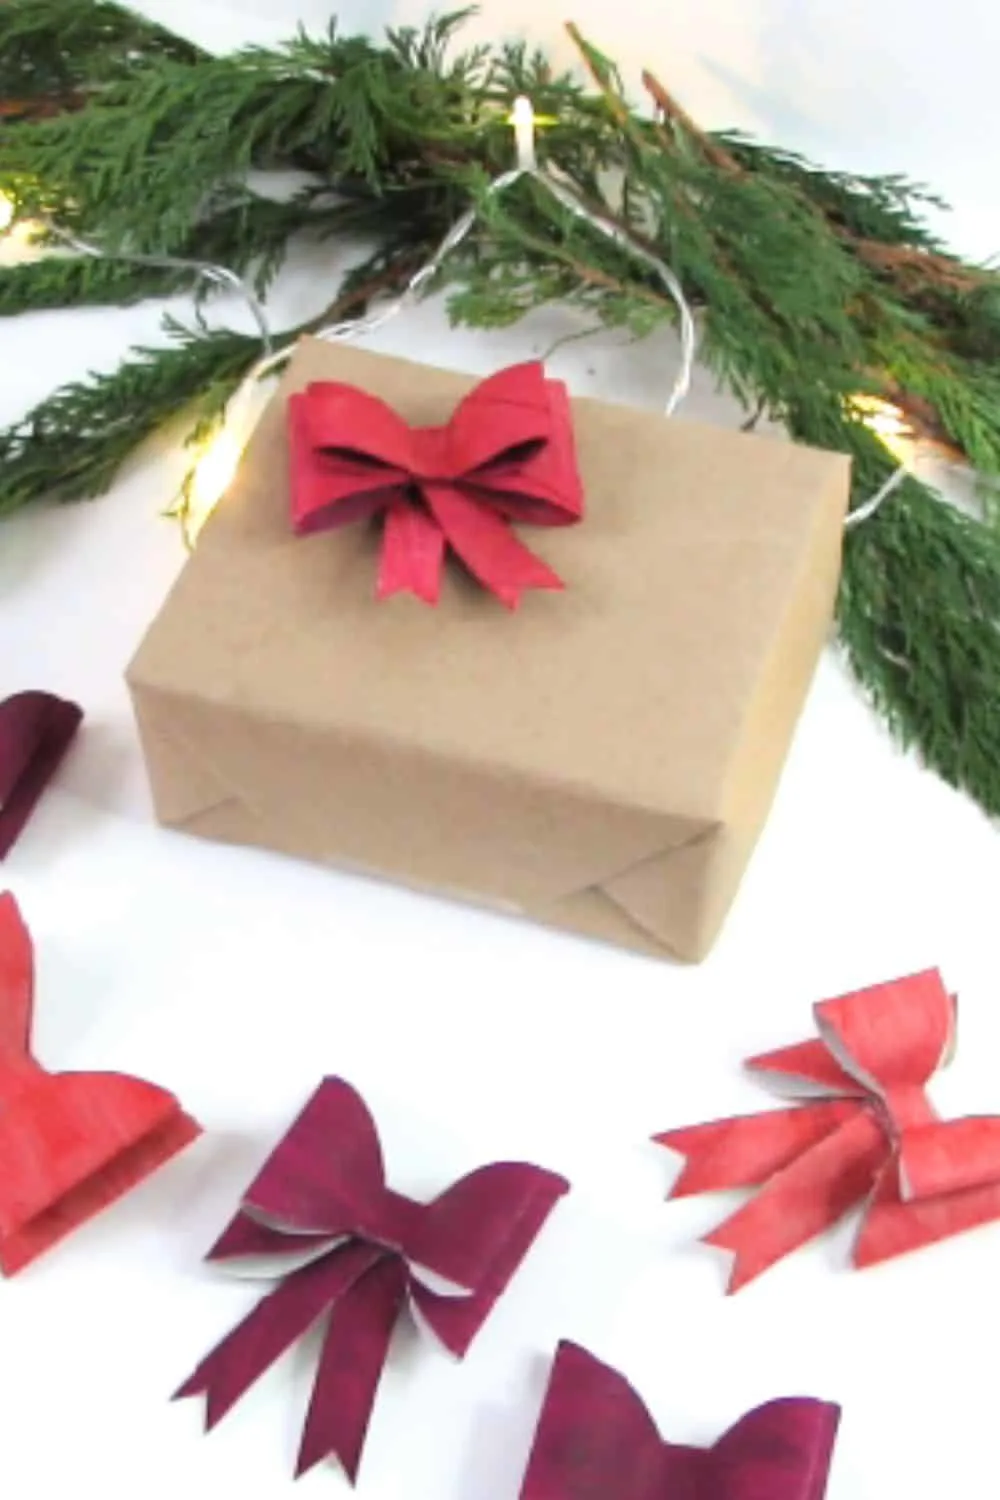
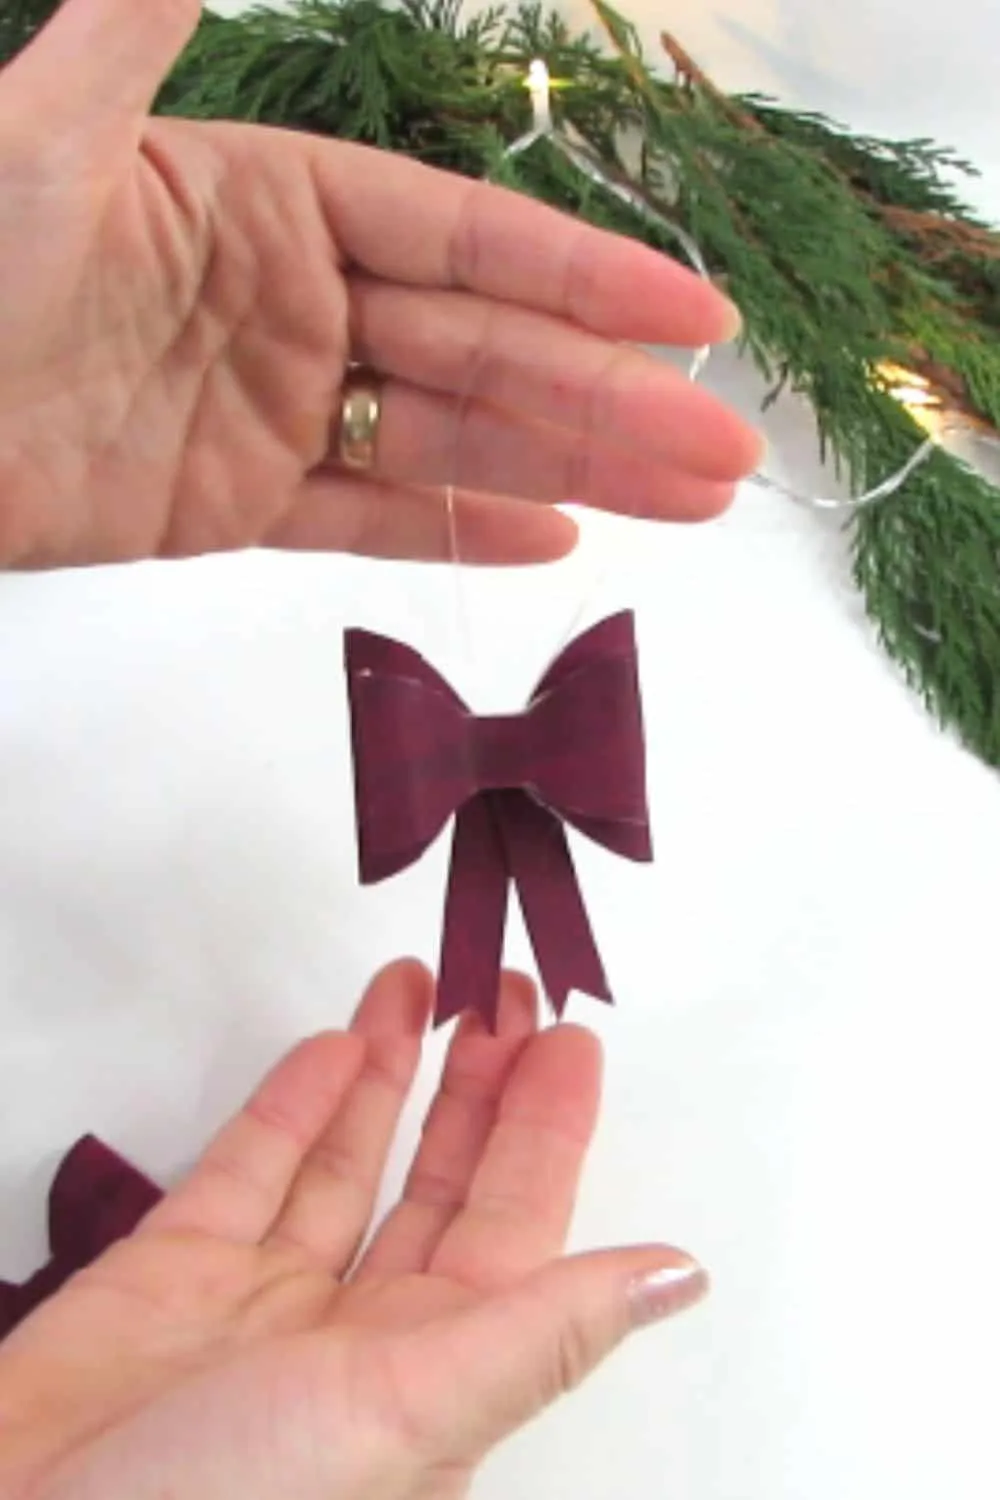
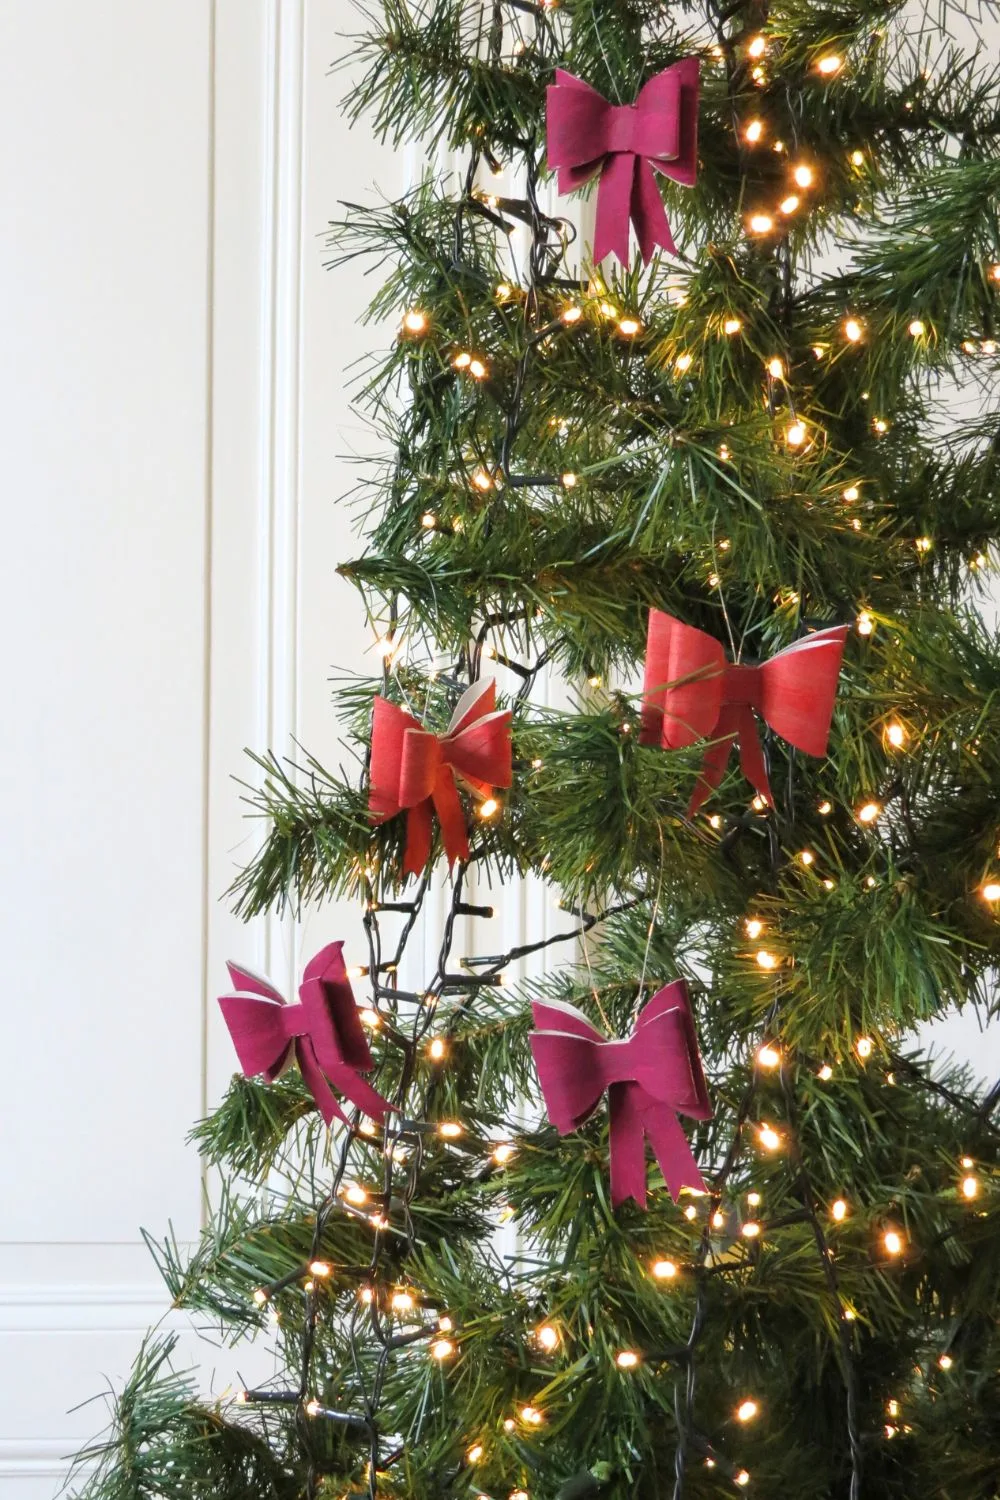
For those feeling particularly adventurous, why not use the DIY Christmas bows to create a tree ornament or garland? Simply glue a fishing wire or a piece of twine on the back of the bow and hang it on the Christmas tree.
.
Remember, the key to customization is experimentation. Don’t be afraid to try different techniques or combine various materials to achieve the desired effect. Trust your creativity and have fun along the way.
With your creativity on display, it’s time to share your creations and inspire others to think outside the ribbon as well.
Let’s explore how you can spread the holiday joy and encourage others to unleash their creativity with DIY Christmas bows.
RELATED: DIY Christmas Bow Door
RELATED: Unleash the Magic: How a Christmas Door Bow Can Create an Enchanting Entrance
Want to remember it? Save this DIY Christmas Bow on you favorite Pinterest board.
Amaryllis
Credit : Source Post


